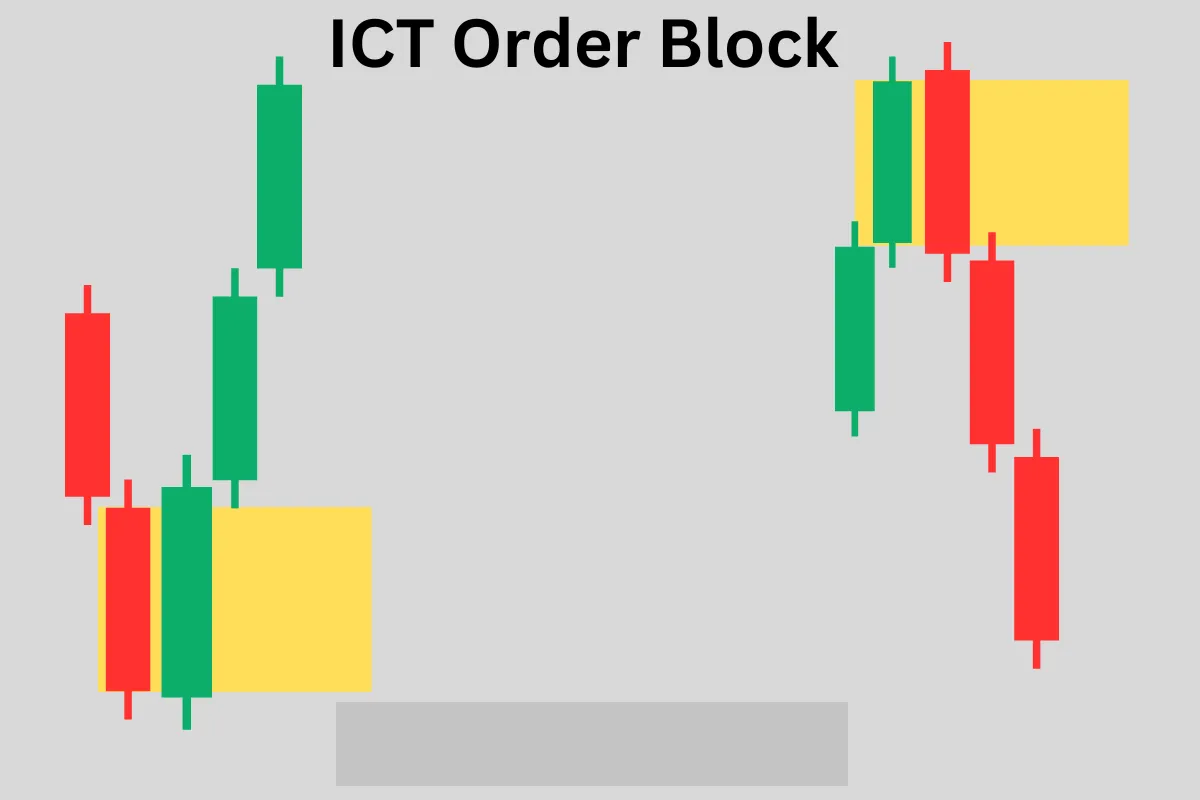
ICT Reclaimed Order Blocks: Zone Definitions and Retest Evidence
Learn how some ICT traders classify a previously failed order-block zone after a later retest, state the exact boundaries and confirmation rule, and avoid inferring institutional positions from the pattern alone.
Framework note: ICT terms are interpretations of price action, not proof of institutional motives or a market algorithm’s intent. No setup is guaranteed. Test clearly defined rules, account for costs and slippage, and use risk limits before risking capital. Read our editorial policy.
Reclaimed Order Block is a label some ICT traders use for a previously failed zone that later behaves differently on a revisit. Terminology varies across sources; define the failure, retest and hold conditions before applying the label.
The Reclaimed OB Formation
One proposed description separates the original zone, the break through it, a later revisit and the subsequent response. Treat those stages as a classification rule rather than proof of a fixed institutional lifecycle, and include cases where the revisit fails.
The difference between a standard Breaker Block and a Reclaimed OB: a Breaker Block is simply a failed OB awaiting its first test from the new direction. A Reclaimed OB has already been tested from the new direction AND held on that test — it has been validated once. The second approach to a Reclaimed OB is typically sharper and more reliable than the first approach to a Breaker Block.
Why the Reclaimed OB Is Highly Reliable
A break and later hold are two observable price events under a chosen definition. They do not independently confirm that institutions placed orders at the original zone or that those orders remain; measure subsequent outcomes without inferring participant identity.
Trading the Reclaimed OB
- Identify a failed OB (Mitigation Block) on your chart.
- Watch for the first test of that zone from the new direction — does price react from the zone? If yes, the zone is being reclaimed.
- On the second approach to the zone, enter at the midpoint of the original OB candle. This is the Reclaimed OB entry.
- Stop: beyond the outer edge of the Reclaimed OB zone (below for bullish, above for bearish).
- Target: the next significant liquidity pool in the direction of the new delivery.
- If the Reclaimed OB also aligns with a FVG or BPR at the same level, the confluence makes it a top-tier setup.
If tracking reclaimed zones, use the same boundaries and retest criteria across instruments and market conditions. Do not assume one instrument or trend regime reclaims failed zones more frequently without measured evidence.
Worked hypothetical example
Suppose an area marked as a bullish Order Block trades below its stated invalidation boundary, then later price closes back above that boundary with a strong upward candle. A trader who uses a reclaimed-block rule can mark the later close as a candidate signal and wait for the predefined retest or confirmation. Neither the recovery nor the label proves institutional interest.
Failure case and what to test
A brief wick back inside the zone may not meet a close-based rule, and a reclaimed level can fail again. Decide whether invalidation is based on a wick, close or number of bars before looking at outcomes.
Test checklist
- Set the original block boundaries and failure rule in advance.
- Define what qualifies as recovery and whether a retest is required.
- Measure failures, no-retests and entries that slip beyond the planned price.
RELATED READING
Continue with guides selected for overlapping concepts and practical context.