ICT Mitigation Blocks: Failed-Zone Definitions and Retest Testing
Learn one convention for marking a mitigation-block candidate after an order-block failure, specify its boundaries and invalidation, and test retests without inferring whether institutions entered or exited positions.
Framework note: ICT terms are interpretations of price action, not proof of institutional motives or a market algorithm’s intent. No setup is guaranteed. Test clearly defined rules, account for costs and slippage, and use risk limits before risking capital. Read our editorial policy.
In some ICT explanations, a mitigation block is labelled around a previously marked order-block zone after a failure and before a later retest. Terminology varies; define the break, zone boundaries and retest rule instead of treating the label as a confirmed lifecycle stage.
The Order Block Lifecycle
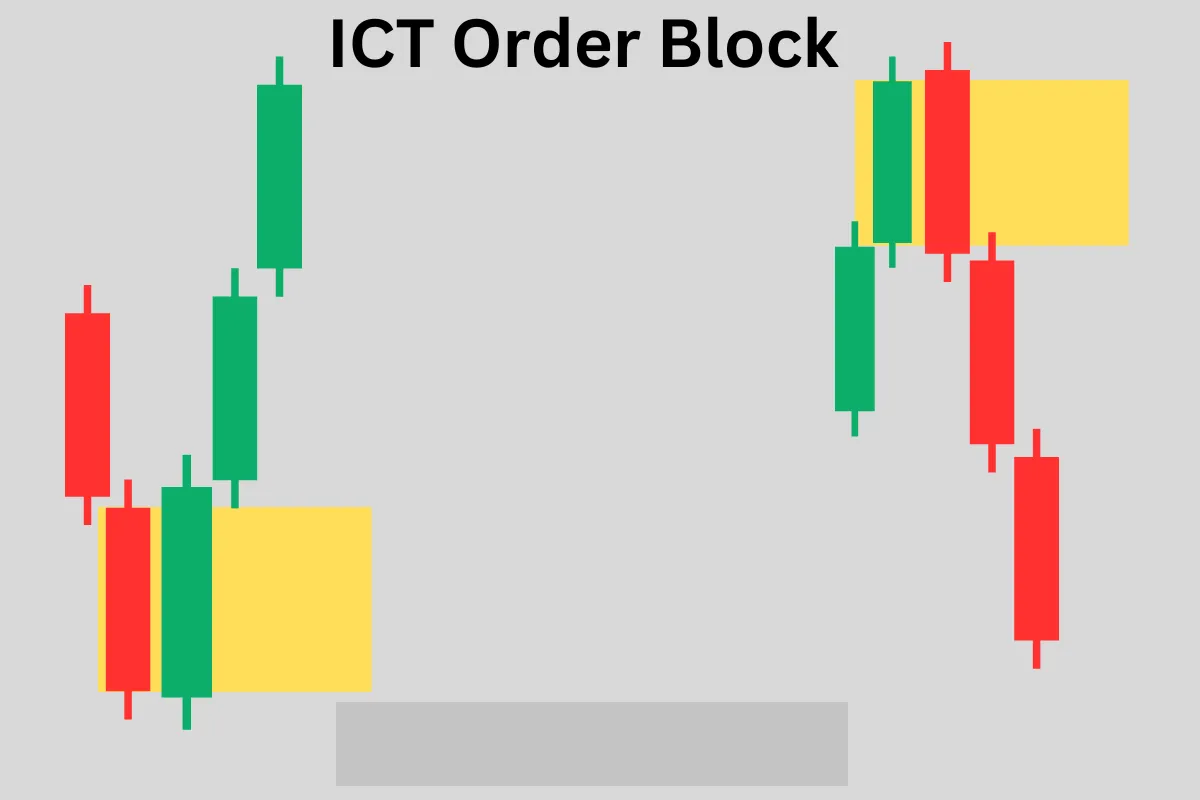
Every Order Block begins with a formation event: the last bullish or bearish candle before a significant impulsive move. When price returns to that OB and reacts, the OB has been tested and confirmed — it holds, and the original move resumes. This is the ideal OB trade. However, when price returns to the OB and pushes through it entirely, the OB has failed. The zone is now a Mitigation Block.
A candle chart does not show whether orders at a marked level were filled, remain active or were used to exit a position. Describe the observed break and any later retest without inferring the identity, inventory or intentions of participants.
Identifying Mitigation Blocks
- Mark all Order Blocks on your chart (the last opposing candle before each significant move).
- Monitor each OB as price approaches it — does price react and reverse (OB confirmed), or does price trade through the entire OB zone (OB failed)?
- When an OB is fully breached — price closes beyond the full range of the OB candle — mark the zone as a Mitigation Block.
- For a bullish OB that has been broken and become a bearish Mitigation Block: mark the high and low of the original OB candle. This range is now a resistance zone.
- For a bearish OB that has been broken and become a bullish Mitigation Block: the range is now a support zone.
Trading the Mitigation Block
A trader may test a return to a failed order-block zone as an entry condition. The first revisit can fail or never occur; use a written trigger, stop, target and expiry instead of assuming the zone will react.
Entry: a limit order at the 50% level of the Mitigation Block zone (the midpoint of the original OB candle's range). Stop: just beyond the far edge of the Mitigation Block zone. Target: the next liquidity pool in the direction of the trade.
Mitigation Block vs Breaker Block — One More Time
One source convention distinguishes a failed-zone candidate before its first revisit from a later breaker label. State the exact convention being taught, because these terms are not used identically by every educator and the labels do not demonstrate who traded there.
Do not assume one instrument breaks order-block zones more often than another without a defined sample. Track every candidate using the same boundary and invalidation rules, then compare rates with costs and market-regime context.
Worked hypothetical example
A trader identifies a candidate zone using a documented failed-structure rule and marks its boundaries before price returns. On the revisit, price closes through the zone and continues beyond the prior swing. The setup is recorded as invalidated, rather than widening the zone after the fact to make the chart fit.
Failure case and what to test
The term mitigation block can be defined differently by educators, and price may never revisit a candidate zone. Retrospective boundary changes can make nearly any reversal look like a valid block.
Test checklist
- Record the failed structure and exact zone boundaries.
- Predefine how a revisit and invalidation are measured.
- Compare candidate zones with ordinary retests and no-trade cases.
RELATED READING
Continue with guides selected for overlapping concepts and practical context.